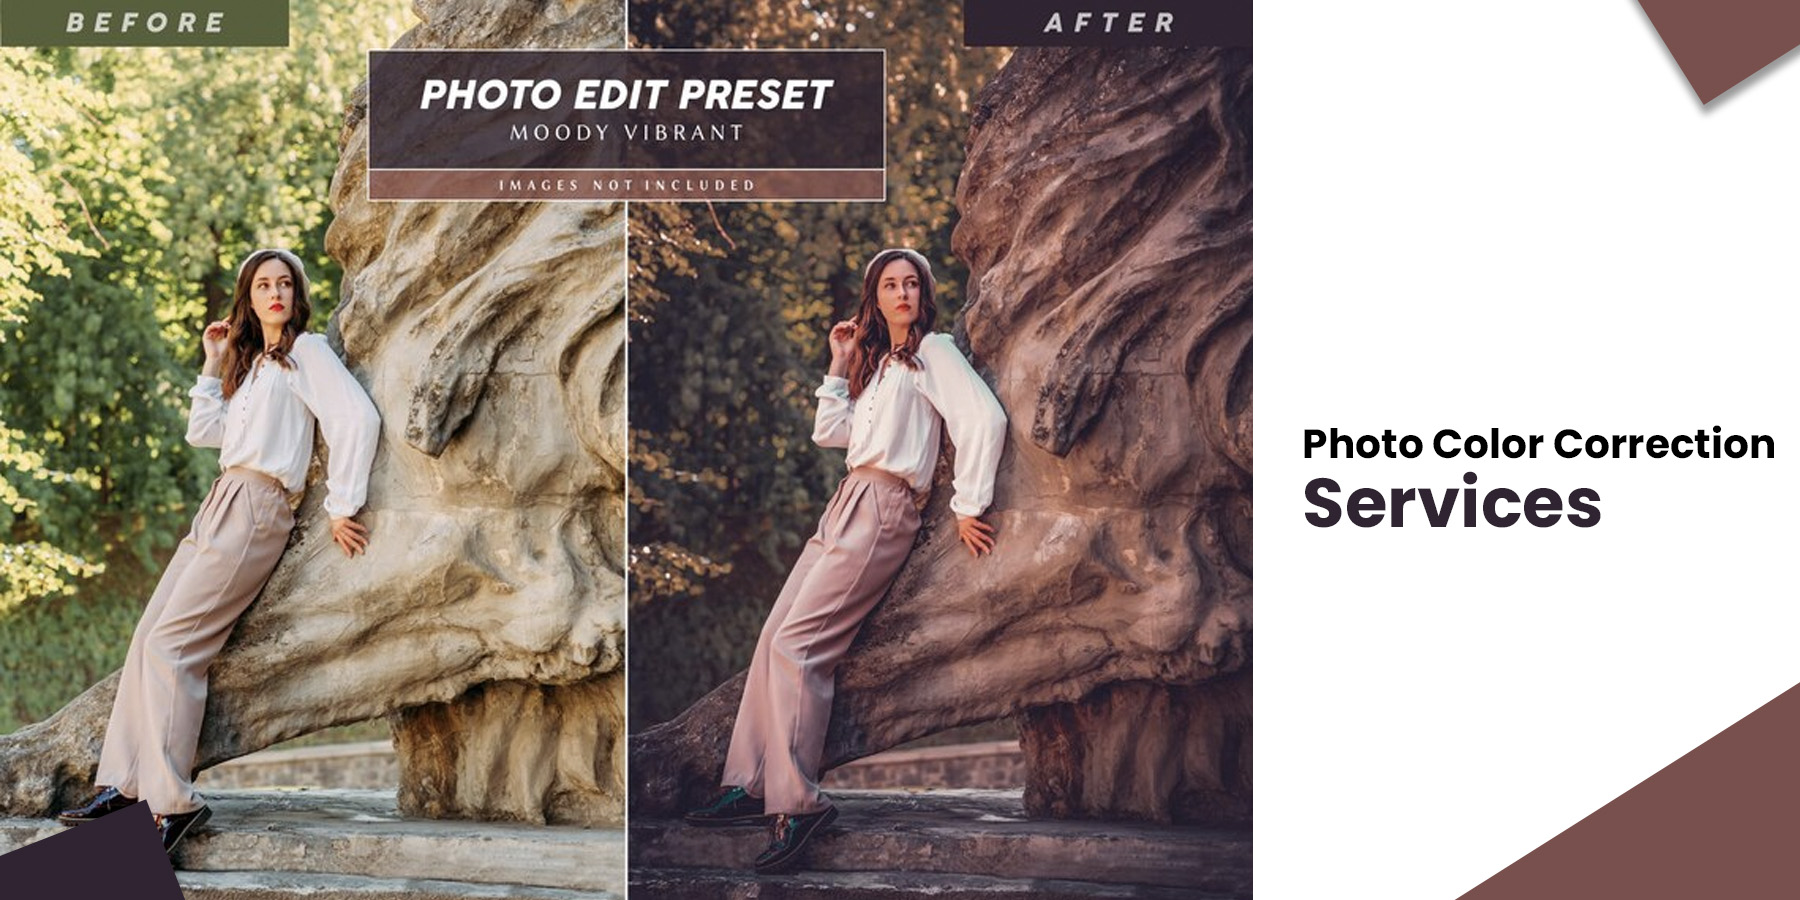
Color grading is a crucial aspect of digital image editing that can dramatically enhance your photographs’ mood, atmosphere, and overall appeal. Whether you’re a professional photographer or just pursuing a hobby, mastering color grading techniques and photo color correction in Photoshop can take your images to the next level.
Table of Contents
Five Professional Techniques to Get the Best Color Grading for Your Images
- Gradient Maps for Precise Color Control
- Image Grading for Atmosphere
- Portrait Retouching with Presets and Enhancements
- Advanced Color Grading with Camera Raw
- Fine-tune colors with Selective Color Adjustment
Five Professional Techniques to Get the Best Color Grading for Your Images
In this blog post, we’ll explore five professional techniques to help you unlock the full potential of color grading and photo color correction in Photoshop.
1. Gradient Maps for Precise Color Control
One of Photoshop’s fundamental techniques for color grading is Gradient Maps. Gradient Maps allow you to map specific colors to highlights and shadows, giving you precise control over the color grading and photo color correction process.
To create a Gradient Map:
- Click on the adjustment layer icon. Select Gradient Map.
- Adjust the color stops on the gradient to set the colors for highlights and shadows.
- You can also add more color points for further customization.
To make the color grading more random and artistic:
- Change the gradient type from solid to noise.
- Decrease roughness to smoothen the transition between colors.
- Click on “Randomize” to explore infinite color possibilities.
Make changes to the blend mode and opacity of the Gradient Map layer to fine-tune the photo color correction effect to your liking.
2. Image Grading for Atmosphere
Sometimes, you can borrow colors and atmosphere from another image to enhance your own. This technique of photo color correction is beneficial when you’re looking to create a specific mood or atmosphere.
Here’s how to do it:
- Find an image with the colors and atmosphere you desire.
- Drag and drop the chosen image into your Photoshop project.
- Make changes to the blend mode and opacity of the image layer to merge it with your original photo.
- Use layer masks to isolate and apply the new colors to specific areas, like the subject or background.
This method of photo color correction allows you to infuse your image with the desired atmosphere and colors seamlessly.
 3. Portrait Retouching with Presets and Enhancements
Presets and enhancements can be a game-changer when it comes to portrait retouching. Photoshop offers various presets for enhancing different aspects of a portrait, such as eyes, teeth, and skin.
Here’s how to use presets and enhancements:
- Select the desired preset or enhancement from the Photoshop library.
- Adjust the intensity of the enhancement to achieve the desired effect.
- Customize settings like eye enhancement, teeth whitening, and skin texture.
Using presets and enhancements during photo color correction can help you quickly achieve professional-level portrait retouching.
4. Advanced Color Grading with Camera Raw
Adobe Camera Raw is a powerful tool for advanced color grading. It allows you to precisely fine-tune the colors in your image during photo color correction.
Here’s how to use Camera Raw for color grading:
- Open your image in Camera Raw by selecting Filter > Camera Raw Filter.
- Use the HSL/Grayscale panel to adjust specific colors’ Hue, Saturation, and Luminance.
- Experiment with different settings until you get the desired color effect.
Camera Raw provides granular control over color adjustments, making it a valuable tool for advanced color grading and photo color correction.
 5. Fine-tune colors with Selective Color Adjustment
Selective Color adjustment is a technique for fine-tuning colors in specific areas of an image. It’s beneficial when you want to target and modify individual color channels during photo color correction.
Here’s how to use Selective Color adjustment:
- Add a Selective Color adjustment layer.
- Choose the color channel you want to modify (e.g., reds, blues, yellows).
- Adjust the settings for Cyan, Magenta, Yellow, and Black to fine-tune the color balance.
Selective Color adjustment gives you precise control over photo color corrections, making it ideal for achieving your desired color balance.
Conclusion
Mastering these five professional color grading techniques in Photoshop is the key to improving your image editing skills. Whether you focus on enhancing portraits, creating atmospheric landscapes, or precisely fine-tuning colors, these photo color correction techniques provide the essential tools to bring your creative vision to life.
If you are searching for top-notch photo color correction services, remember to contact Vserve Solutions. With a dedicated team of professionals and a proven track record in image editing and enhancement, Vserve Solutions is your trusted partner for achieving impeccable color correction in your photos.
Whether you’re a photographer, an eCommerce business, or an individual seeking precision and quality, Vserve Solutions is committed to delivering outstanding results. Bring your images to life with vibrant and accurate colors at Vserve Solutions.
This blog is inspired by the video, ‘Master Color Grading: 5 Tricks Pros Hide from You! – Photoshop Tutorial’ by PiXimperfect


